Tips#2 Taro

Tips#2 Taro
This is the second part of a series of articles on simple structure and points that you can refer to when creating your own skins 💪
You can download the actual skin at the bottom of the page if you like it 🙆️
Of course, you can also import this skin into Minecraft Skin Editor 2D and customize it 🤖.
Taro
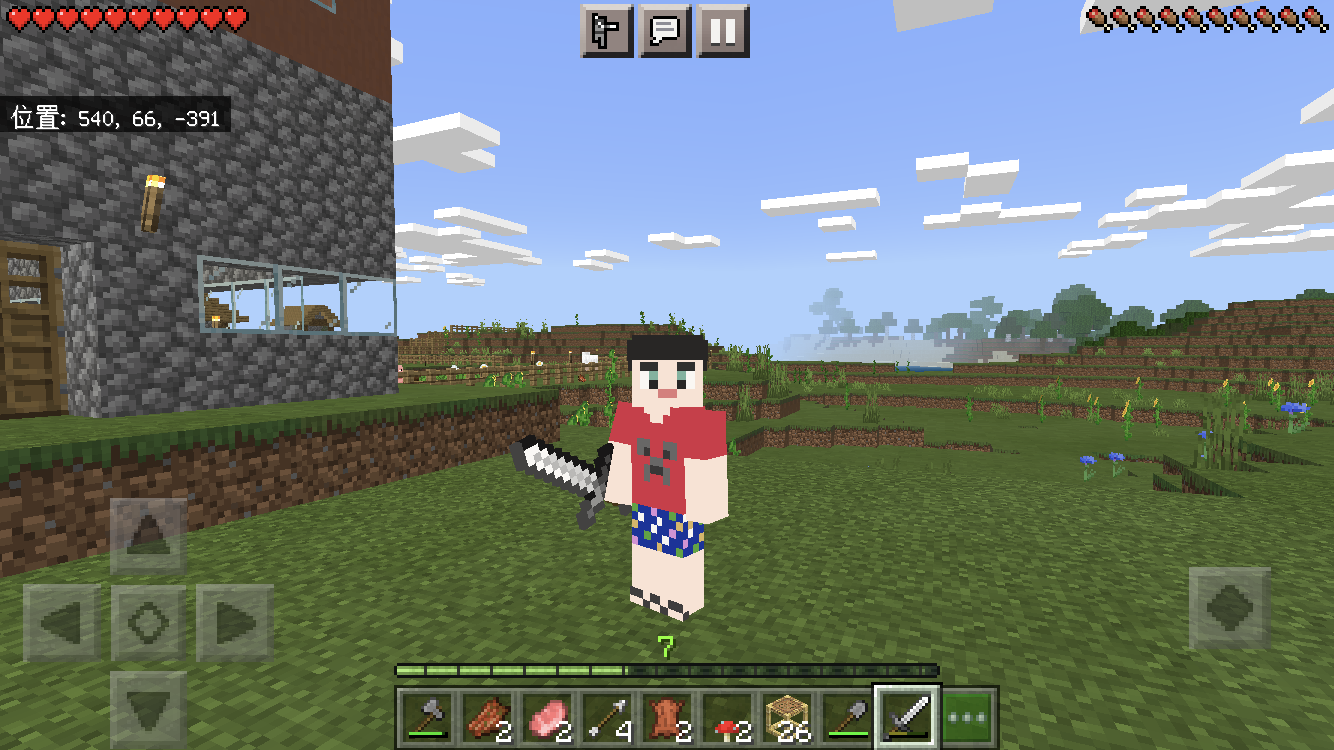
This time, I created Taro.
I created this image of my son with a full head of hair in front.
He is a little naughty and likes TNT 💣


Skin
The configuration of the skin looks like the following.
- To make it easier to understand, the over layer image hides the under layer, but as of now (July 6, 2021), the Minecraft Skin Editor 2D does not provide the ability to hide the under layer when editing the over layer 🙇♂️
HEAD
The over layer expresses the roundness of the hair and the overlapping area.
By not painting the top row of the over layer, a slight step is created to express the roundness.
This time, I made the eyes a little larger to give the face a child-like appearance.
left: under layer
right: over layer

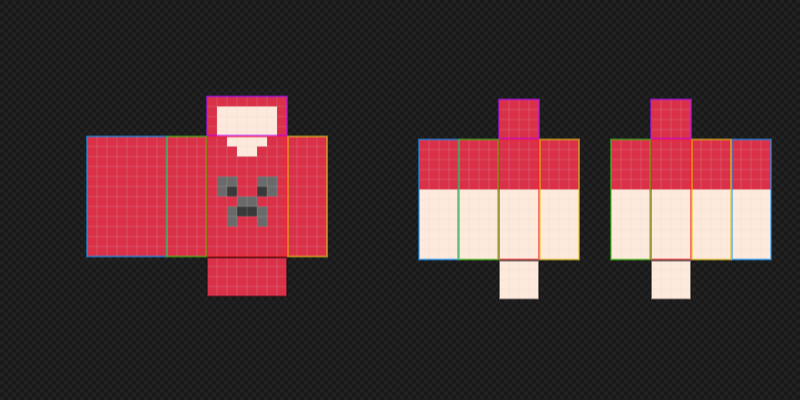
BODY/ARMS
There is nothing difficult to do here.
I added a creeper-like pattern to the front of the body. It's a very simple design, but it's immediately recognizable as a creeper, which shows the high level of design quality in Minecraft 💅
left: body under layer
right: arms under layer

legs
I made colorful short pants.
I used an over layer to express flip flops.
By wrapping it around the sides, I was able to create a three-dimensional expression.
left: under layer
right: under layer

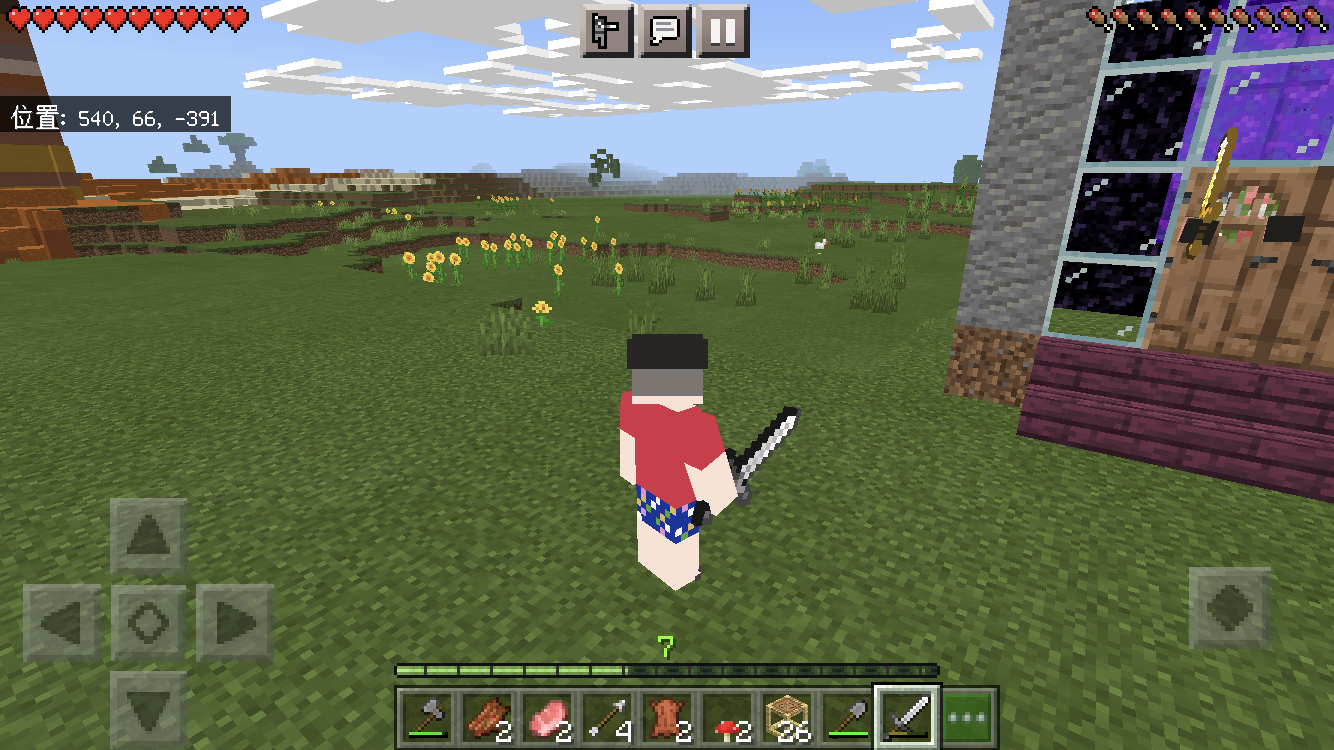
Taro Skin
Here are the skins I created 🙆️
Please play around with this ✋
